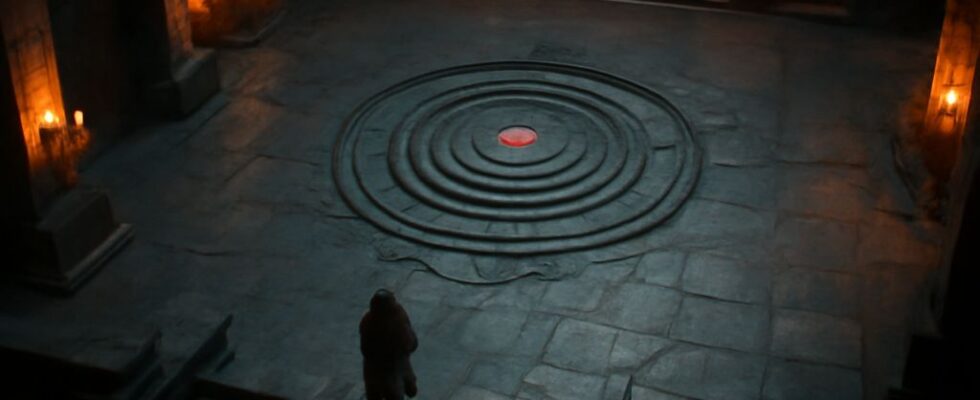
The party reaches a shrine just as its defenders pull the main doors shut. You need a temple battle map that gives both sides choices before the first die hits the table. This original temple combat map is ready to sketch onto a grid or adapt to your game.
Temple battle map: Draw the shrine
This shrine battlemap uses squares 5 feet across. North is up; the outer edge of the grid is the temple wall except at the marked entrances. The map covers 40 by 40 feet, so a character moving 30 feet can cross six unobstructed squares if your rules use that scale.
       A B C D E F G H
    1  R R R a a T T T
    2  R R R . . T T T
    3  R R R . . T T T
    4  # r # . . # t #
    5  W . O . . O . W
    6  W . . . . . . W
    7  W . O . . O . W
    8  W . . D D . . W
D marks the two-square main entrance. W marks a side entrance; the three W squares on each side form a 15-foot opening, with no wall between them. O marks a column filling its square. R is the reliquary, T is a preparation room, and # is wall. Room boundaries lie on the edges between R or T squares and other areas; the lowercase r and t are the only doorways into those rooms. The two a squares form an altar platform, 5 feet above the hall. Dots are open floor.
On this battlemap of a shrine, the hall and rooms sit at ground level. Give the platform a short stair along its southern edge, so it can be reached from D2 or E2 without a climb. Treat the room doors and entrances as open at the start unless the scene calls for a closed door. The walls around the north and east sides of the platform keep it inside the building.
Choose routes and cover
This temple battlemap has three approaches: the broad south entrance and an opening on each side. A group entering through D can advance together, but a defender near the altar can see the central aisle. In the temple battlemap, a group splitting at the side entrances can approach the rooms or columns sooner, though its members may have trouble helping one another if the doors close.
The shrine battlemap’s columns interrupt sight lines and block movement through their squares. A figure can move around one, then attack from its edge if your game permits it. Agree before combat whether a column grants partial cover against an attack that crosses its corner; use your chosen game’s cover rules to decide the benefit. A column is excellent company until someone walks around it.
In this battle map of the shrine, the raised altar changes the angle of an encounter without making its occupant unreachable. The stair gives anyone a direct route up. A creature on the platform can see over a crowd, but a column may still obstruct a line of sight. Apply your game’s rules for elevation, range, and any advantage; the diagram itself grants no automatic bonus.
Give each room a purpose
Give the temple map a clear objective: put a fragile relic in the reliquary and a bell in the preparation room. If the bell is rung, a guard might spend a turn opening a side entrance for reinforcements. The party can stop that action, protect the relic, or bargain with a defender who cares about it. Those goals make movement matter even when no one is dealing damage.
Before running this battlemap, decide which doors can be locked and how long they take to open under your rules. Mark any difficult terrain, hazards, or furniture on the grid rather than adding them after a player commits to a route. Leave at least one clear path from each entrance to the hall so the first turn offers a real choice.
To adapt the shrine map for a smaller or less experienced group, close one side entrance and place the bell beside the altar: the goal is visible, and the remaining routes are easy to follow.