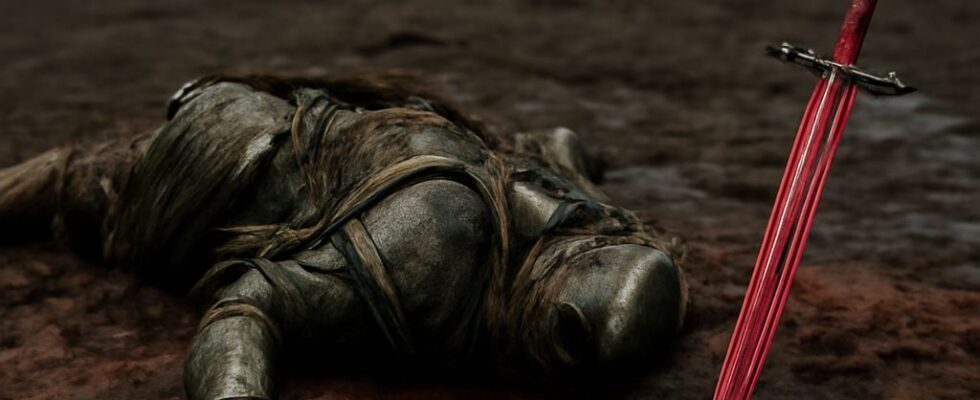
How do you get out of the Bloodskal ruin when the circular door will not move? Take the Bloodskal Blade beside Gratian’s remains and use its power attacks to send matching red waves into the glowing marks. Once the door opens, the route out of the barrow continues through traps and a dragon priest’s chamber.
This walkthrough covers Skyrim’s Dragonborn content on Solstheim and the quest The Final Descent. Make a save before the drop into the puzzle chamber: returning the way you came is difficult once you are down there.
Find the Mine and the Blade
In Raven Rock, speak to Crescius Caerellius inside Raven Rock Mine. He asks you to investigate his great-grandfather Gratian’s fate and recover his journal. Follow the mine deeper toward Bloodskal Barrow, dealing with draugr along the way. Bring healing supplies and leave room for loot; the trip includes a significant fight after the puzzle.
At the bottom of the descent into Bloodskal’s barrow you will find a large circular door and Gratian’s skeleton nearby. Take both Gratian’s Journal and the Bloodskal Blade, a two-handed greatsword. The journal gives the clue; the sword supplies the actual key. Equip it even if you normally use a different weapon. You can switch back once the door is open.
Escape Bloodskal Barrow: Match the Red Lines
To escape Bloodskal Barrow, open the door with the blade. A normal swing will not solve the puzzle. Hold your attack control for a power attack and watch for the blade’s red energy wave. Aim the wave at the glowing slit on the outer arch, not the center of the door yet. The door instructions in the Skyrim guide describe the sequence:
- First horizontal mark: Face a glowing horizontal slit on one side. Move sideways while holding the attack control to send a horizontal wave into it. The stone shifts and reveals a vertical mark.
- Vertical mark: Stop moving and use a power attack aimed at the new vertical glow. Another section moves, revealing a higher horizontal mark.
- Higher horizontal mark: Aim at the new slit and use another sideways power attack. The side of the arch settles into place.
- Other side: Repeat the same horizontal, vertical, horizontal sequence on the opposite side, aiming at each newly revealed glow.
- Center: When both sides are complete, a vertical red line appears across the circular door. Hit it with a standing vertical power attack to open the passage.
Listen for moving stone and look for the next illuminated slit after each hit. If you are aiming at an old mark, adjust your view before spending more stamina. A little distance can make it easier to see the upper marks and aim the projectile.
Continue Through the Ruin
To exit the Bloodskal barrow, go past the door and time your movement through the swinging blades and use the lever beyond them to open the way onward. In Bloodskal’s flooded ruin you face Zahkriisos, a dragon priest who uses lightning. Use cover, heal when necessary, and keep moving rather than standing in his spells. Loot his mask if you want it and visit the nearby Word Wall for a word of Dragon Aspect.
The Black Book The Winds of Change is nearby; reading it begins a separate excursion, so you can leave it for later if you want to finish the mine quest first. Continue up the stairs and leave the Bloodskal tomb, where Reavers await. Once outside, return to Crescius in Raven Rock and give him Gratian’s Journal to finish The Final Descent.
If the Door Still Will Not Move
The usual failure in the Bloodskal tomb is a swing without the correct wave reaching the mark. First check that the unique blade is equipped, you are standing rather than sneaking, and you have enough stamina for a power attack. Use a sideways power attack for a horizontal slit and a stationary one for a vertical slit; aim higher when the upper mark appears. If the blade produces no wave even after these checks, the exit from the Bloodskal tomb is still blocked; reload the save from before the descent and try again.