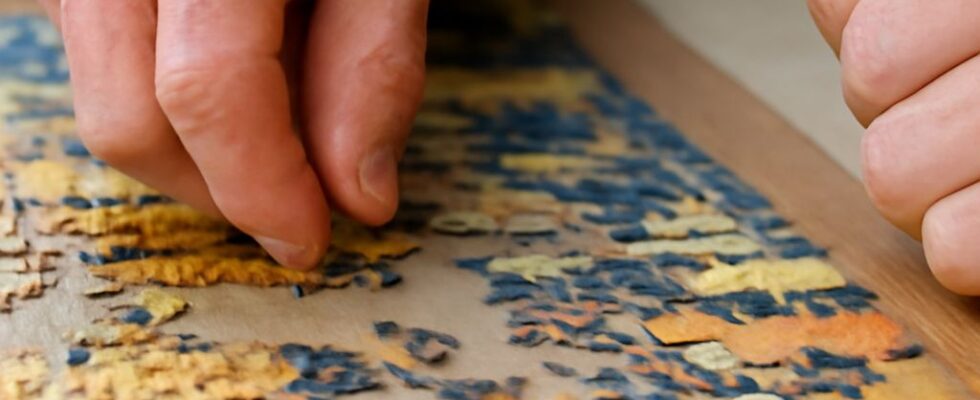
To learn how to solve jigsaw puzzles efficiently, use a repeatable workflow: prepare the table, inspect the reference image, sort pieces into useful groups, build stable sections, and change tactics as the number of open spaces shrinks. The aim is not to create the most piles; it is to make the next correct piece easier to recognize.
Keep the box image visible throughout. Work in good light on a flat surface with enough room to move sections without disturbing completed areas.
How to solve jigsaw puzzles: prepare the workspace and inspect the image
Choose a surface larger than the finished puzzle, or use a puzzle board if you need to move it. Leave clear space around the assembly area for sorting trays or shallow containers. Turn every piece face up before you begin. This first pass prevents repeated handling later and reveals the puzzle’s visual structure.
- Study the image. Identify the border, large color blocks, obvious objects, text, strong lines, and areas with repeated patterns.
- Estimate the frame. Look for pieces with one straight side, then note whether the image has an unusual outline or internal divisions.
- Mark useful landmarks mentally. A face, window, flower, roofline, or bright color patch can provide a reliable starting section.
Do not begin by forcing pieces together. A correct fit should settle easily, with the image continuing smoothly and no raised edge or visible gap.
Sort pieces by edge, color, texture, object, and shape without over-splitting
Make broad groups first, then refine only when a group becomes useful. Too many tiny piles hide pieces, consume table space, and make it harder to compare similar options. A sorting tray or a sheet of paper can hold each active group without committing you to permanent categories.
- Edge: Set aside pieces with one straight side. Separate corner pieces by looking for two straight sides. Keep unusual edge pieces nearby rather than assuming every straight side belongs to the outside.
- Color: Group clearly different colors such as blue sky, green foliage, or red clothing. Keep subtly shaded pieces together until the image gives you a reason to divide them.
- Texture: Notice visual surfaces such as brick, water, wood grain, clouds, or printed lettering. Repeated texture often identifies a region more reliably than color alone.
- Object: Pull out pieces belonging to recognizable subjects or lines. A wheel, eye, sign, branch, or building edge can anchor a section even when its surrounding colors are similar.
- Piece shape: Within an active group, compare the arrangement of knobs and holes. Separate distinctive shapes, such as a piece with two adjacent knobs or a long narrow opening, only when that distinction helps.
Keep an “uncertain” group for pieces that could fit several areas. Revisit it after a section is assembled; context usually makes ambiguous colors and shapes easier to place.
Build the border, assemble stable sections, and place them in the frame
Assemble the border when the straight-edge group is reasonably complete. Start with the corners, then extend each side while checking the reference image. The border creates a stable frame, but it is not always the best first task for every puzzle. If a distinctive object has many obvious pieces, build that section at the same time.
- Choose a strong section. Favor a recognizable object, sharp color contrast, lettering, or an obvious line rather than a large area of similar texture.
- Build loosely beside the frame. Arrange pieces in their likely positions without forcing uncertain connections. Use the image to confirm direction and scale.
- Check each connection. Compare the printed image, the fit, and the surface level. If one clue disagrees, separate the pieces and test alternatives.
- Move the completed section into place. Slide or lift a compact, stable section into the border once its outer shape is clear. Keep fragile fragments outside the frame until they have enough support.
Build inward from the border when it gives you clear reference points, but build outward from a strong object when the frame contains repetitive sky, grass, or water. Leave gaps between sections if you are unsure of their exact position; a section that is correct but misplaced can make later work confusing.
Jigsaw-puzzle tips for repeated backgrounds, rotating tactics, and final gaps
When solving a jigsaw puzzle, use visual evidence first and shape evidence second. In a repeated background, color may identify only a broad region, so rotate the remaining pieces and compare their tabs, blanks, width, and orientation. Test a piece only when both its shape and the local image support it.
- For repeated areas: divide the background into smaller zones using nearby borders, shadows, changes in brightness, or texture direction. Build short runs instead of searching the entire remaining pool.
- When progress slows: stop sorting by broad color and switch to piece shape. Look for matching tab-and-hole combinations, then confirm the printed pattern after the connection is made.
- For isolated spaces: inspect the opening from every direction. A piece may appear wrong because it is upside down, or because a neighboring piece is misplaced.
- For a missing fit: remove the surrounding pieces one at a time and rebuild from the last certain connection. Check whether a similar-looking piece was placed in the wrong section, whether the gap belongs elsewhere, or whether a piece is still face down in the uncertain group.
Near the end, stop making large piles. Keep only the pieces that could occupy the open region and compare them directly with the gap. A correct final piece sits flush, continues the image without a break, and leaves the neighboring pieces undisturbed. If it requires pressure, creates a ridge, or forces the surrounding pattern out of alignment, treat that as a diagnostic clue rather than a solution.